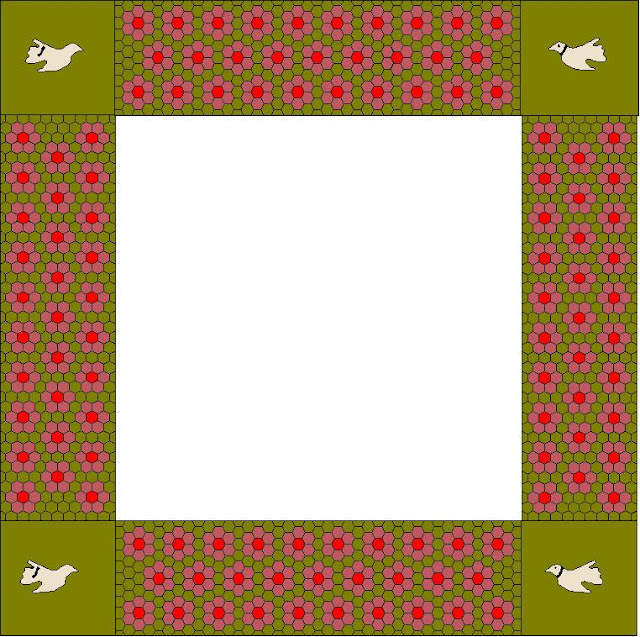
I think I have done enough for about two sides so far. I don't want to count them as I just want to enjoy the process.
I stitch away from myself with the furthest hexagon just slightly raised above the one in front of me. I find this makes it easier just to catch a couple of threads.
At the beginning and end of each seam, I wind the thread round the needle twice to strengthen the weakest point. It also means if the thread should fail at some point in the future, it will only be one seam which needs fixing.
When I hit a dead end and need to get back to where I started, I travel the thread under the seam allowance winding the thread around the needle twice at the beginning and end of each seam as above.
And I have found my Fiskars hexagon punch will happily cope with a double thickness of my 165gr paper. This means I can cut out about 150 hexagons in a matter of a few minutes.
Every time the phone or doorbell rings, everything has to be put out of Ruperts reach. This weeks damage.....
And the leg of the footstool.
Thank heavens it was the cheapie kitchen footstool. He'll be two in March, it should have ceased by now........


Beautiful hexagons, Sally! But as for Rupert -- nope! He's only a teenager at this point. That's the same age that our Bisou decided that leather sofas were her favorite chew toy! Yikes! She did outgrow it (and we have new leather sofas), but it was a difficult time.
ReplyDeleteI just love seeing your process photos. Love how close-up and clear they are :) Great idea for anchoring the corners. The needle looks huge - what size/type is it?
ReplyDeleteOur pups are all “grown up” now but I well remember the chewing times...and one particular corner of binding that needed to have brand new binding all around...Your hexies are fabulous and what a great group of close up process images...just came from a workshop with Di Ford Hall and her method with hexies is identical. I will definitely follow both of you when doing my future hexies. Your border is going to be stunning.
ReplyDeleteThanks for the tip about wrapping the thread around the needle at the end of every seam.
ReplyDeleteWhat darling hexies! Thanks for the process tips. It's going to be a lovely quilt.
ReplyDelete