I know someone some where posted about using this stuff for appliqué. I cannot for the life of me remember what they did or how they did it. I Googled to find their blog or Youtube but by the time I got to page 20 on the searching, I gave up.
So I tried to reinvent the wheel. Firstly I tried to squeeze it out of the nozzle but the stuff is very thick, so I diluted it with water (first checking it did mix with water). Then I squeezed a line round the edge of the rose on the back of the fabric. I left it overnight to dry.
Notice I am using Liquid Thread, not Liquid Stitch. I bought the former somewhere in the UK but for the life of me cannot remember where. I think they are probably much the same but I haven't opened the Liquid Stitch yet.
I cut round the edge of the rose from the front so I could see and get a nice edge. As I cut the dried Liquid Stitch fell of in places and made a white powder over my scissors.
I then ironed it in place with a very hot iron and no steam using a silicon sheet to keep the sticky stuff off both the iron and the ironing board cover. It wasn't very successful and I had white residue round the edge of the rose and it just wasn't stuck down. Duh moment, I had turned off the iron and it just wasn't hot enough. Waited for the iron to get up to top heat and tried again. This time it stuck but only where the glue hadn't fallen of during the cutting out.
This time I cut out a yellow rose and placed it right side down on the shiny side of some freezer paper, then went round with the Liquid Thread on and just over the edge. It was quite difficult to pick it up without getting the Liquid Thread everywhere.
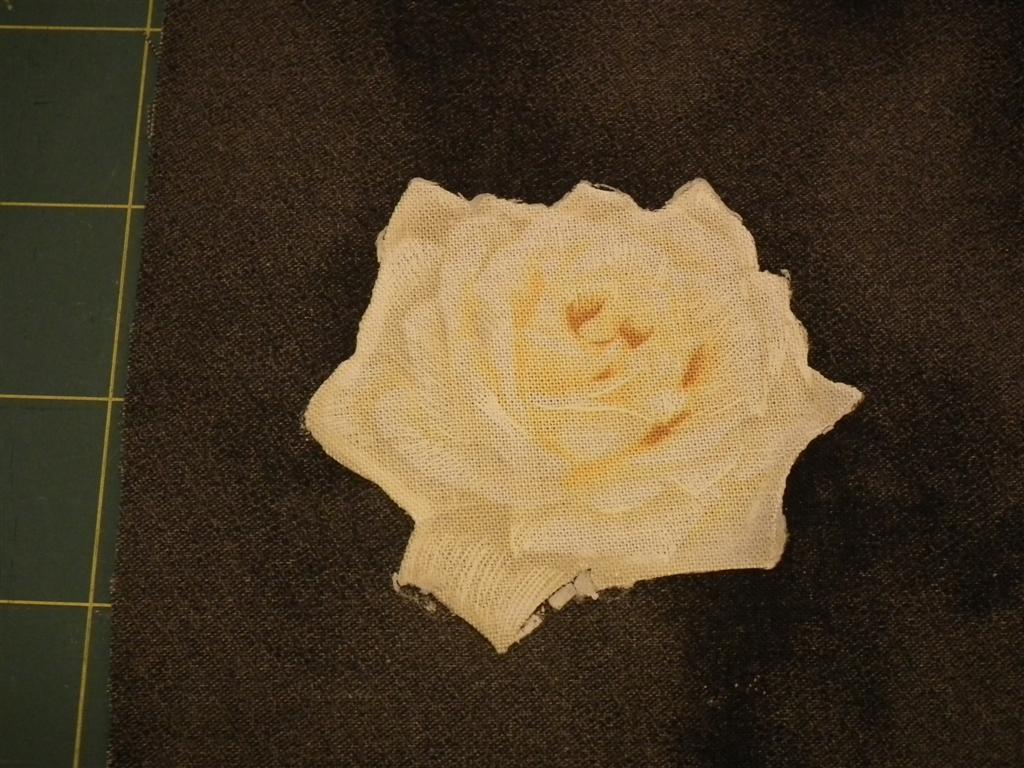
Duh moment part 2. Yet again I had not remembered to turn the iron back on (actually I can't remember the logic in turning it off, I blame it on the increased medications). You can see where the Liquid Stitch has spread out. Only I thought it just hadn't sunk into the background fabric. This dark grey fabric is one of those ones which have a plasticy feel.
I had success with a very hot iron on this green fabric (I don't think the different fabric had made any difference whatsoever, it was the heat which did it). I stitched it down with a double pass blanket stitch on the machine. I'm not happy with this stitch on the sharp points.
I cut away the background fabric behind the rose to lessen the thickness of the fabrics.
On the whole I am reasonably happy with the result with two exceptions. One is that it is quite difficult to place when it is covered in wet Liquid Stitch and the other is the blanket stitch.
Perhaps cutting out the rose and applying the Liquid Stitch after cutting and leaving it over night would be ideal. Or even applying it, pressing between layers of silicon sheet and then cutting will work.
I need to play some more...


Sally............why have I an idea it was Sharon Schamber that demoed this? Did you google her?
ReplyDeleteTerry Grant has an article on her blog about using Liquid thread like this. Check the side menu --can't remember whether right or left..
ReplyDeletehttp://www.andsewitgoes.blogspot.com/
Thanks June that looks what I was suggesting at the end of this post. Good to know it works! Why couldn't I find it on a Google search.
ReplyDeleteIt's not the post I have seen before but it does the job. The one I saw, if my memory serves me well was from someone showing a few appliqué methods, perhaps maybe....?
I used Applique stabiliser stuck to the fabric with blie Elmers glue - turned a small hem to the wrong site..and sued a tiny bit of liquid stitch to a sharp piont...just a do, then used the hot dry iron.. I dont cut the back of the applique stabiliser fabric, as when wet the applique stabiliser goes to fiber and puff up. Somewhere on my web site you can see how I did it. I had watched Sharon Schamber do this in one of her video's Turned Edge Applique .Hope this helps and doesnt confuse you
ReplyDeleteSorry Sally - just found it on my blog - if you look here you will see what I was tryng to explain...
ReplyDeletehttp://joanatleschenault.blogspot.com/2010/11/i-have-done-another-block-that-joanne.html
Thanks Joan, I want to use raw edge applique so I don't loose any of the edge of the roses. If I turned it under with her method I would loose some and others would be smoothed out. What she suggests is great for what she is doing.
ReplyDeleteI've not seen this stuff before - I must do some research on it!
ReplyDeleteIs this the post you remember?
ReplyDeletehttp://www.patsythompsondesigns.com/blog/index.php/archives/1198
Mary T, No that wasn't it. I remember it being someone who was showing various applique methods she used on a traditional, might even had been a reproduction type quilt.
ReplyDeleteThese are all good, I have found what works for me now!
Hi Sally,
ReplyDeleteI've used a fair amount of Liquid Stitch now and I've been really happy with the results. For me, the key has been to run my finger over the bead of glue to kind of "smoosh" the bead down so it's not so high. Then, once it's dried, I cut right through the center of the glue line. That assures me that I have glue right to the edge of the cut applique, but it's not a lot of glue so none runs out the side of the applique. I've heard there are small bottles with tiny tips one can purchase at Michael's that are a better way to apply this stuff and avoid having to smoosh the glue bead, but I never think to look for them when I'm at Michael's. Here's a link to a video tutorial we did on this:
http://www.patsythompsondesigns.com/free-video/
If you scroll to the video called Free Motion Intermediate II, that's the video it's in and the section on Liquid Stitch begins at around 4 minutes. The fabric I was using it on in that video was a silk/cotton blend (fairly thin stuff) and there were a few places where the color of the fabric right by the glue line changed once I applied the glue. I've never had that happen before or since, but it makes me a bit cautious about using it on thin fabrics.
I hope you keep playing with this product. I have found it very helpful.
Patsy
ReplyDeletehttp://andsewitgoes.blogspot.com.au/2006/04/my-fusing-method.html